Configure Java development environment on Ubuntu 19.10
Last modified: 15 Apr, 2020
Introduction
We developers always choose Windows when purchasing our laptops but have desire to get our hands dirty on Linux environments.
Windows 10 provides Windows Subsystem for Linux (WSL), which is a feature that creates a lightweight environment that allows you to install and run supported versions of Linux (such as Ubuntu, OpenSuse, Debian, etc.) without the complexity of setting up a virtual machine or different computer.
WSL is good for evaluation purposes. It does not provide us all the power and features of Linux System. It would be ideal to run Linux instance on VM instead of using WSL for extensive use with our development. Running Linux instance on VM has it pros and cons which we would not discuss here.
Running Linux along side with Windows OS via Dual Boot is an ideal solution for most of the case. Follow instructions provided here to install Ubuntu 19.10 alongside Windows 10 in dual boot environment.
Software and Applications that we setup on Ubuntu 19.10
Below are the Softwares and Applications that we are going to setup on Ubuntu 19.10 that is dual boot along side with Windows 10. These are mainly focused for Java Development environment, but it is not limited for other development technologies.
- GraalVM
- Maven
- Gradle
- Kotlin
- Node
- Docker
- microk8s
- Python
- IDEs such as Notepadqq, Visual Studio Code, IntelliJ IDEA Community
- Postman
- Other useful utilies..
Uplifting Ubuntu 19.10 to Kubuntu 19.10
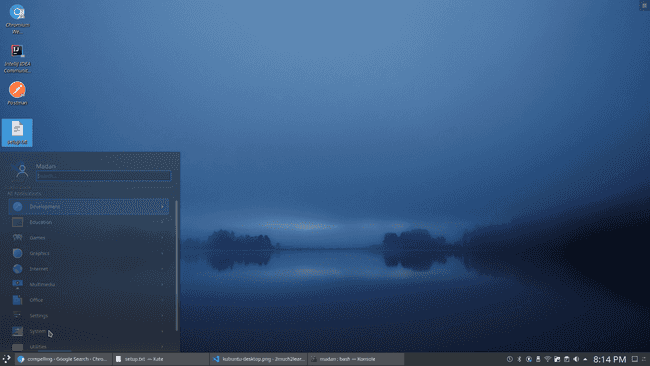
Kubuntu is a community developed and supported project which provides the latest stable KDE software on top of a stable Ubuntu core. It provides applications which are more compelling with those provided with stock ubuntu.
You can choose to download Kubuntu 19.10 and install in dual boot alongside Windows 10 or you can upgrade Ubuntu 19.10 to Kubuntu 19.10.
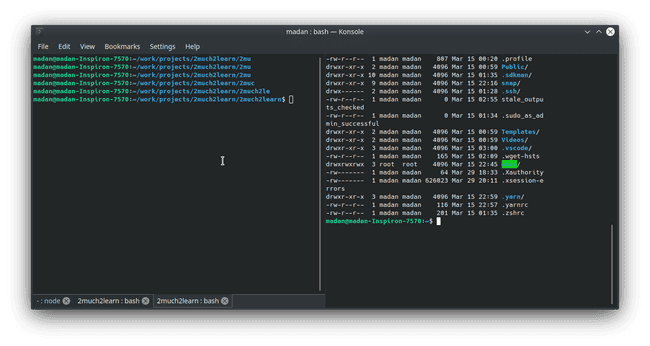
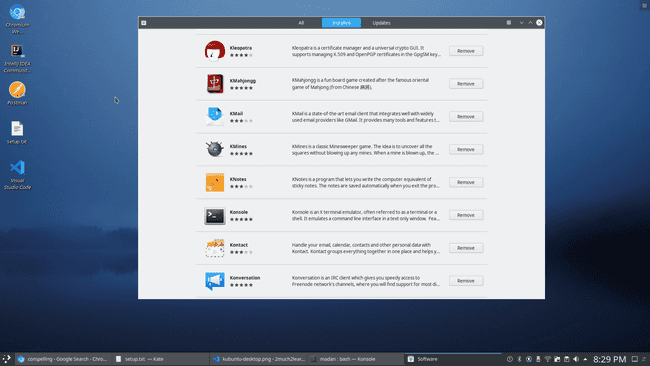
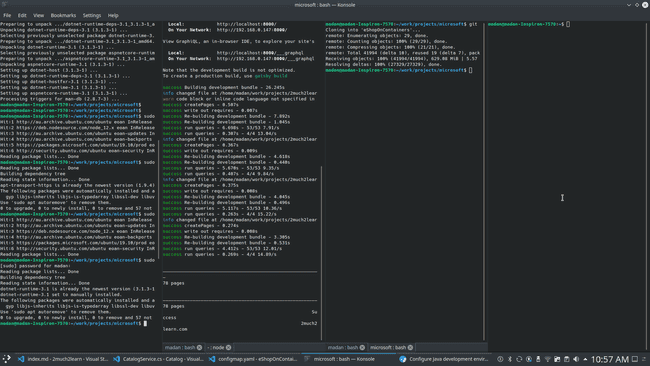
Below are some snaphots of my pc running Kubuntu 19.10
Setup Instructions
Follow below steps to install & configure softwares and applications that we listed earlier:
Install curl
sudo apt install curlInstall wget
sudo apt-get install wgetInstall libz - needed for building graalvm native image
sudo apt-get update -y
sudo apt-get install -y libz-dev
Install sdkman
- open a new terminal and enter:
$ curl -s "https://get.sdkman.io" | bash- Open new terminal and exter below command
$ source "$HOME/.sdkman/bin/sdkman-init.sh"- Verify if installed properly by checking version
$ sdk versionInstall GraalVM JDK 11
- Download GraalVM JDK11
$ cd /home/<user>/Downloads

$ wget https://github.com/graalvm/graalvm-ce-builds/releases/download/vm-20.0.0/graalvm-ce-java11-linux-amd64-20.0.0.tar.gz

$ tar -xvzf graalvm-ce-java11-linux-amd64-20.0.0.tar.gz- Move the unpacked dir to /usr/lib/jvm/ and create a symbolic link to make your life easier when updating the GraalVM version:
$ sudo mv graalvm-ce-java11-20.0.0/ /usr/lib/jvm/- Install the GraalVM Java
$ sudo update-alternatives --install /usr/bin/java java /usr/lib/jvm/bin/java 1- verify by checking the version number:
$ java -version- Set Path by adding below exports to anywhere above end of the file. Restart the terminal.
$ vi ~/.bashrc

export JAVA_HOME=/usr/lib/jvm/
export PATH=${PATH}:${JAVA_HOME}/bin

export GRAALVM_HOME=/usr/lib/jvm/- Download Native image installer component package
$ cd /home/<user>/Downloads

$ wget https://github.com/graalvm/graalvm-ce-builds/releases/download/vm-20.0.0/native-image-installable-svm-java11-linux-amd64-20.0.0.jar- Install Native Image using GraalVM Updater
$ gu -L install native-image-installable-svm-java11-linux-amd64-20.0.0.jar- Verify if native-image is installed
$ gu list- Test native image
$ mkdir /home/<user>/learning/java

$ vi HelloWorld.java
public class HelloWorld {
  public static void main(String[] args) {
    System.out.println("Hello, World!");
  }
}

$ javac HelloWorld.java

$ native-image HelloWorld

$ ./helloworld
Install maven
$ sdk install maven

$ mvn -v
Install Gradle
$ sdk install gradle
$ gradle -v
Install Kotlin
$ sdk install kotlin
$ kotlin -version
Install Git
$ sudo apt install git
$ git --version
Configure git credentials
$ git config --global user.name "Madan Narra"
$ git config --global credential.helper store
$ git pull
$ provide credentials when prompted
Install Nodejs 12
$ curl -sL https://deb.nodesource.com/setup_12.x | sudo -E bash -
$ sudo apt-get install -y nodejs
$ sudo apt-get install -y npm
This should install Node v12.x.x and NPM v6.x.x.
- Verify version
$ node --version
$ npm --version- Install Yarn
$ sudo npm install -g yarn
$ yarn -v
Install Docker
$ sudo apt-get update
$ sudo apt install docker.io- Start and Automate Docker
$ sudo systemctl start docker
$ sudo systemctl enable docker- Verify Version
$ docker --version- Add current user to docker group and set permission to docker.sock file to not get permission denied errors when running docker commands from logged in user rather then sudo user.
$ sudo groupadd docker

$ sudo usermod -aG docker ${USER}

$ sudo chown "$USER":"$USER" /home/"$USER"/.docker -R

$ sudo chmod g+rwx "$HOME/.docker" -R

$ sudo chmod 666 /var/run/docker.sock

$ newgrp docker- Login to docker
$ docker login

Login with your Docker ID to push and pull images from Docker Hub. If you don't have a Docker ID, head over to https://hub.docker.com to create one.
Username: XXXXXXXXX
Password:
WARNING! Your password will be stored unencrypted in /home/madan/.docker/config.json.
Configure a credential helper to remove this warning. See
https://docs.docker.com/engine/reference/commandline/login/#credentials-store

Login Succeeded
Install Docker Compose
$ sudo curl -L "https://github.com/docker/compose/releases/download/1.25.4/docker-compose-$(uname -s)-$(uname -m)" -o /usr/local/bin/docker-compose$ sudo chmod +x /usr/local/bin/docker-compose$ docker-compose --versionInstall microk8s
$ sudo snap install microk8s --classic- Join user group
$ sudo usermod -a -G microk8s $USER
$ su - $USER- verify installation
$ microk8s.kubectl get nodes- Create alias for kubectl
$ sudo snap alias microk8s.kubectl kubectl- Create shortcut for kubectl
$ vi ~/.bashrc
$ alias k='microk8s.kubectl'- configure firewall to allow pod-to-pod and pod-to-internet communication:
$ sudo ufw allow in on cni0 && sudo ufw allow out on cni0
$ sudo ufw default allow routed- Write cluster config information to
$HOME/.kube/configfile
$ microk8s.kubectl config view --raw > $HOME/.kube/configSet Python 3 as default
Ubuntu comes with Python 2 & Python 3 by default. When documenting this article, below are the versions available in Ubuntu 19.10
$ python --version
Python 2.7.17

$ python3 --version
Python 3.7.5
Run the below command to use Python3 as default
$ update-alternatives --install /usr/bin/python python /usr/bin/python3 10Now running below command will confirm Python3 is set as default
$ python --version
Python 3.7.5
Install pip - Package Management System
$ sudo apt update

$ sudo apt install python3-pip

$ pip3 --version
pip 18.1 from /usr/lib/python3/dist-packages/pip (python 3.7)
pip packages will be installed in “ folder. Add this directory to PATH to start using the installed packages
$ vi ~/.bashrcAdd the following line at the end of the file. Save the file
export PATH="/home/madan/.local/bin:$PATH"Save the file and load the new $PATH to current shell session
$ source ~/.bashrc

$ echo $PATH
Install softwares from Ubuntu Software
- chromium
- koncole terminal
- Notepadqq
- Visual Studio Code
IntelliJ
Install Intellij IDEA Community edition from Ubuntu Software.
Install the below plugins for more productivity with IntelliJ
- SketchIt - To generate PlantUML file with class diagram syntax for the selected package. Choose the package > Tools > click on SketchIt
- PlantUML Integration - To view graphical output of PlantUML file
For PlantUML to work, we need to install Graphviz. Use the below command to install
$ sudo apt install graphvizInstall Postman
$ sudo snap install postmanUtilities
Flameshot
Flameshot is Powerful yet simple to use screenshot software.
$ sudo apt install flameshotAssign PrtScr to Falemshot in Kubuntu
- Go to System Settings > Search for Shortcuts
- Navigate to Custom Shortcuts and delete existing screenshot group if one exists by default.
- Create new group Screenshot and create new custom action within it.
- Assign Trigger to
PrtScrby pressing thePrtScrbutton. - Use
/usr/bin/flameshot guiin command/url input field. - Select Screenshot checkbox and click Apply.
- Clicking
PrtScrbutton should now show Flameshot window.
Assign PrtScr to Flameshot in Ubuntu
- Release the PrtScr binding by this command
gsettings set org.gnome.settings-daemon.plugins.media-keys screenshot '[]'- Go to Settings -> Devices -> Keyboard and scroll to the end. Press + and you will create custom shortcut.
- Enter name: “flameshot”, command: /usr/bin/flameshot gui.
- Set shortcut to
PrtScr(print). - That is it. Next time you push
PrtScrflameshot will be launched.
SimpleScreenRecorder
SimpleScreenRecorder is a Linux program that record programs and games capturing the entire screen or part of it.
$ sudo apt-get update

$ sudo apt-get install simplescreenrecorder
Gravit Designer
Gravit Designer is a free full-featured vector graphic design app that works on ALL platforms. Unlock the full power of your creativity with fast and flexible tools tailored to professional designers.
$ sudo snap install gravit-designerCreate work folder and set permissions
Its always better to isolate our work into specific folder. Below are the commands to create folder work and setting appropriate permissions.
$ cd /home/<user>

$ sudo mkdir work
Changes the permission mode for work directory so that the owner and group has full read/write/(execute or search) access and all others have read and execute/search access.
$ sudo chmod 775 work/Alternatively add <USER_NAME> to the users group and then make users the group owner for worl folder
$ sudo adduser <USER_NAME> users

$ sudo chown -R <USER_NAME>:users work/
Useful Linux cheatsheet Commands
$ top$ sudo snap install htop
$ htop$ lsof
$ sudo lsof -i -P -n | grep LISTEN
$ sudo lsof -i:22 ## see a specific port such as 22 ##$ sudo apt install net-tools
$ netstat -a | more
$ netstat -tulpn | grep LISTEN
$ netstat -plnt | grep ':80'$ fuser -v -n tcp 8080$ sudo ss -tulwn
$ ss -nt '( dst :8443 or dst :8080 )'
$ ss -nt '( dst :5432 )'$ kill PID
## Force kill
$ kill -9 PID# Show running Java Process
$ jps
# Get stats for specific java process
$ ps -p <PID> -o %cpu,%mem,cmdConclusion
This post describes development environment on Ubuntu for Java developers but not limited to others. This is self reference post for myself to reinstall and configure my development environment with simple easy steps if something goes wrong with my Ubuntu OS.
I liked Kubuntu with its look and feel mimicking windows environment. Its better to download Kubuntu OS and configure it to run along side Windows 10 rather then updating Ubuntu to Kubuntu.
Hope this helps for those looking for who wants to get their hands dirty by developing on Ubuntu !!!
