Provision Ubuntu Desktop with Java Development Environment done using Vagrant on Windows 10
Last modified: 06 Feb, 2020
Introduction
Vagrant is a provisioning tool for virtual machines and provides an easy way to build and manage virtual machine environment best suited for setting up development environments. It can provision a virtual machine on VirtualBox, VMware, AWS etc. Vagrant works with the configuration defined in a file called Vagrantfile, which can be committed in the source control.
VirtualBox is basically inception for your computer. You can use VirtualBox to run entire sandboxed operating systems within your own computer. It is the default provider for vagrant.
Ubuntu is a free and open-source Linux distribution based on Debian. Ubuntu is officially released in three editions: Desktop, Server, and Core for the internet of things devices and robots. All the editions can run on the computer alone, or in a virtual machine.
This article provides step by step details on provisioning Ubuntu Desktop using Vagrant on Windows 10 with all applications needed for Java Development Environment.
Prerequisites
Vagrant and Virtual Box are the only prerequisites that are needed on Windows 10 to provision Java Development Environment on desired VM. Download, Install and restart your machine if prompted for.
- Download and Install Oracle Virtual Box for windows available from https://www.virtualbox.org/wiki/Downloads
- Download and Install Vagrant for Windows available from https://www.vagrantup.com/downloads.html
Executing the below command should Verify if Vagrant is installed successfully
~:\> vagrant -v

Vagrant 2.2.7
Vagrantfile
Create a sample directory or go inside your project folder and enter
~:\> vagrant initThis will generate a minimal Vagrantfile, which we will modify to suit our need. We can choose different boxes packaged for Vagrant from official repository at https://app.vagrantup.com/boxes/search. We will be provisioning Ubuntu Desktop in this article.
Use Ubuntu Desktop Vagrant box
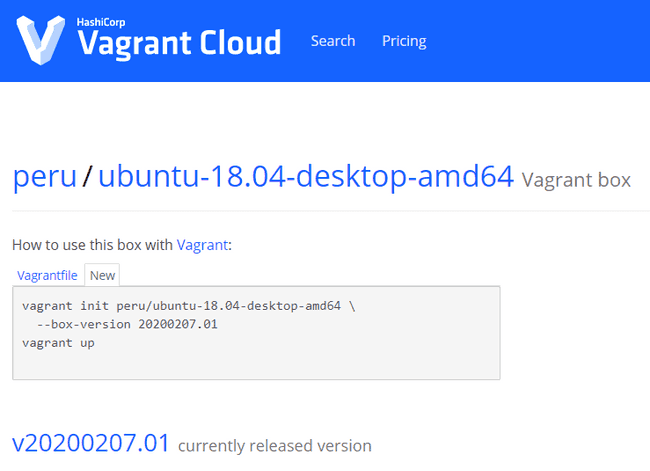
peru/ubuntu-18.04-desktop-amd64 is the vagrant box that we will be using to provision our development environment in this article.Delete Vagrantfile that is created and run the below command to initialize one with Ubuntu Desktop.
~:\> vagrant init peru/ubuntu-18.04-desktop-amd64 This will create file Vagrantfile which have reference to the used public box.
config.vm.box = "peru/ubuntu-18.04-desktop-amd64"Run Vagrant command to provision the VM with the available Vagrantfile
~:\> vagrant upThis will use the default provider virtualbox and will download the virtualbox Ubuntu Desktop image and starts it up. You should observe something similar after running the above command. Image being downloaded is of around ~1.45 GB and it would take couple of minutes to complete.
You should observe something similar after running the above command.
Resources
- https://github.com/cosee/ubuntu-ansible-desktop-setup
- https://medium.com/the-lazy-programmer/automating-your-dev-environment-setup-with-vagrant-and-ansible-c6790b3257a0
- https://www.edureka.co/blog/development-environment-using-vagrant/
- http://ssledz.github.io/blog/2015/11/08/java-development-environment-with-vagrant-part-1/
- https://blog.versioneye.com/2015/05/05/setting-up-a-dev-environment-with-vagrant/
https://dev.to/deepu105/my-beautiful-linux-development-environment-2afc


